Ovirt Guest Agent on Windows XP

oVirt

On the windows machine install

Python 2.7.3 for Windows.
http://www.python.org/ftp/python/2.7.3/python-2.7.3.msi

Add python route into the PATH variable

Install Python for Windows extension (pywin32) version 216 for Python 2.7
http://sourceforge.net/projects/pywin32/files/pywin32/Build216/pywin32-216.win32-py2.7.exe/download

Download ovirt guest agent source code
https://github.com/oVirt/ovirt-guest-agent/archive/master.zip

uncompress the code and copy the folder ovirt-guest-agent to a localitation like  C:\ovirt-guest-agent

Open the file ovirt-guest-agent.py and edit the line

AGENT_CONFIG = ‘/etc/ovirt-guest-agent.conf’

to

AGENT_CONFIG = ‘C:\ovirt-guest-agent\ovirt-guest-agent.conf’

finally

open a msdos console

cd C;\ovirt-guest-agent

python OVirtGuestService.py install

net start OVirtGuestService

Fedora 19 Network Bonding without networkmanager

fedora_19_bonding

If your new server has two network interfaces use both in bonding can help you to get a better performance or failover tolerance.

If you want to create a bonding device first you need to disable network manager.

systemctl stop NetworkManager.service
systemctl disable NetworkManager.service

systemctl enable network.service
systemctl start network.service

Now you need to configure your network interfaces

ip link show

is the way to get your devices list

1: lo: <LOOPBACK,UP,LOWER_UP> mtu 65536 qdisc noqueue state UNKNOWN mode DEFAULT
link/loopback 00:00:00:00:00:00 brd 00:00:00:00:00:00
2: p33p1: <BROADCAST,MULTICAST,UP,LOWER_UP> mtu 1500 qdisc pfifo_fast state UP mode DEFAULT qlen 1000
link/ether ca:fe:ca:fe:ca:fe brd ff:ff:ff:ff:ff:ff
3: p2p1: <BROADCAST,MULTICAST> mtu 1500 qdisc pfifo_fast state DOWN mode DEFAULT qlen 1000
link/ether ca:fe:ca:fe:ca:ff brd ff:ff:ff:ff:ff:ff

in my case I have two network cards p33p1 and p2p1

If i move to /etc/sysconfig/network-scripts and make a ls i will see two files

ifcfg-enp2s0 and ifcfg-enp3s0

edit both files to appear like these

BOOTPROTO=none
NAME=<device name>
UUID= <leave as is>
HWADDR=<leave as is>
NM_CONTROLLED=”no”
MASTER=”bond0″
SLAVE=”yes”

Creating bond interface

create a file /etc/modprobe.d/bonding.conf with the content

alias bond0 bonding

Create a file in /etc/sysconfig/network-scripts/ifcfg-bond0

DEVICE=bond0
BOOTPROTO=dhcp
ONBOOT=yes
BONDING_OPTS=”mode=0 ”
USERCTL=no
NM_CONTROLLED=”no”

reboot your system and enjoy 😛

Installing GitLab 2.1 on Centos 6

gitlab logo

Step 1: Install needed packages

you will need remove installed ruby because repo version is 1.8.7 and we need 1.9 at least

yum remove ruby

yum install wget

enable epel repos

wget

rpm -Uvh epel-release-6-5.noarch.rpm

install required libraries

yum install readline-devel  libyaml-devel gdbm-devel  ncurses-devel  redis openssl-devel zlib-devel gcc gcc-c++ make autoconf readline-devel curl-devel expat-devel gettext-devel  tk-devel  libxml2-devel libffi-devel libxslt-devel libicu-devel httpd httpd-devel gitolite git-all python-devel python-pip sqlite-devel sendmail vim mysql-devel

Step 2: Install Ruby 1.9.3

wget http://ftp.ruby-lang.org/pub/ruby/1.9/ruby-1.9.3-p0.tar.gz

tar xzvf ruby-1.9.3-p0.tar.gz

cd ruby-1.9.3-p0

./configure

make

make install

Step 3: Install gitolite

Create gitolite-admin user

    useradd -d /home/gitolite-admin gitolite-admin

generate RSA key pair for gitolite-admin user

su gitolite-admin
ssh-keygen
exit

Move generate public key to gitolite home dir

cp /home/gitolite-admin/.ssh/id_rsa.pub /var/lib/gitolite/id_rsa_gitolite_admin.pub
chown gitolite:gitolite /var/lib/gitolite/id_rsa_gitolite_admin.pub

complete gitolite and gitolite-admin users pairing

su gitolite
gl-setup /var/lib/gitolite/id_rsa_gitolite_admin.pub

a editor will opened changue repo permissions to 0007

$REPO_UMASK to 0007
exit
su gitolite-admin
cd
git clone gitolite@localhost:gitolite-admin

in the last command you clone the gitolite-admin repo on gitolite-admin’s home. Gitolite-admin repo is gitolite config

before continue we need configure gitolite-admin git profile

git config –global user.email “gitolite-admin@localhost”
git config –global user.name “gitolite-admin”
exit

add gitolite-admin to gitolite group

usermod -a -G gitolite gitolite-admin

changue gitolite-admin password

passwd gitolite-admin

Step 6 Launch Redis

chkconfig redis on

/etc/init.d/redis start

Step 7 GitLab

Clone GitLab sourcecode

cd /var/www

git clone git://github.com/gitlabhq/gitlabhq.git

chown -R gitolite-admin:gitolite-admin gitlabhq/

cd gitlabhq/

Install phython dependencies

pip-python install pygments

Install required gems

gem install bundler

bundle install

su gitolite-admin

bundle install

Prepare config files

cp config/database.yml.example config/database.yml

cp config/gitlab.yml.example config/gitlab.yml

Prepare production enviroment

RAILS_ENV=production rake db:setup
RAILS_ENV=production rake db:seed_fu

you will get these login data

login………admin@local.host
password……5iveL!fe

Config gitolite gitlab link

vim config/gitlab.yml

your  git_host: section must be like this

# Git Hosting congiguration
git_host:
system: gitolite
admin_uri: gitolite@localhost:gitolite-admin
base_path: /var/lib/gitolite/repositories/
host: localhost
git_user: gitolite
# port: 22

fix gitolite permissions

chmod -R 770 /var/lib/gitolite/repositories/

try your installation launching webrick

bundle exec rails s -e production

open a web broser, write  yourhost:3000 and check if everything is working if you get an error send me a comment

Install passenger for Apache

gem install passenger
passenger-install-apache2-module

follow screen instructions

edit apache config file

vim /etc/httpd/conf/httpd.conf

and append these lines at the end

LoadModule passenger_module /usr/local/lib/ruby/gems/1.9.1/gems/passenger-3.0.11/ext/apache2/mod_passenger.so
PassengerRoot /usr/local/lib/ruby/gems/1.9.1/gems/passenger-3.0.11
PassengerRuby /usr/local/bin/ruby

enable apache service

/etc/init.d/httpd start

chkconfig httpd on

Sources

http://wasil.org/en/gitlab-installation-on-fedora-16-with-gitolite

http://rickfoosusa.blogspot.com/2011/08/gitolite-tutorial-senawario.html

Laboratory III

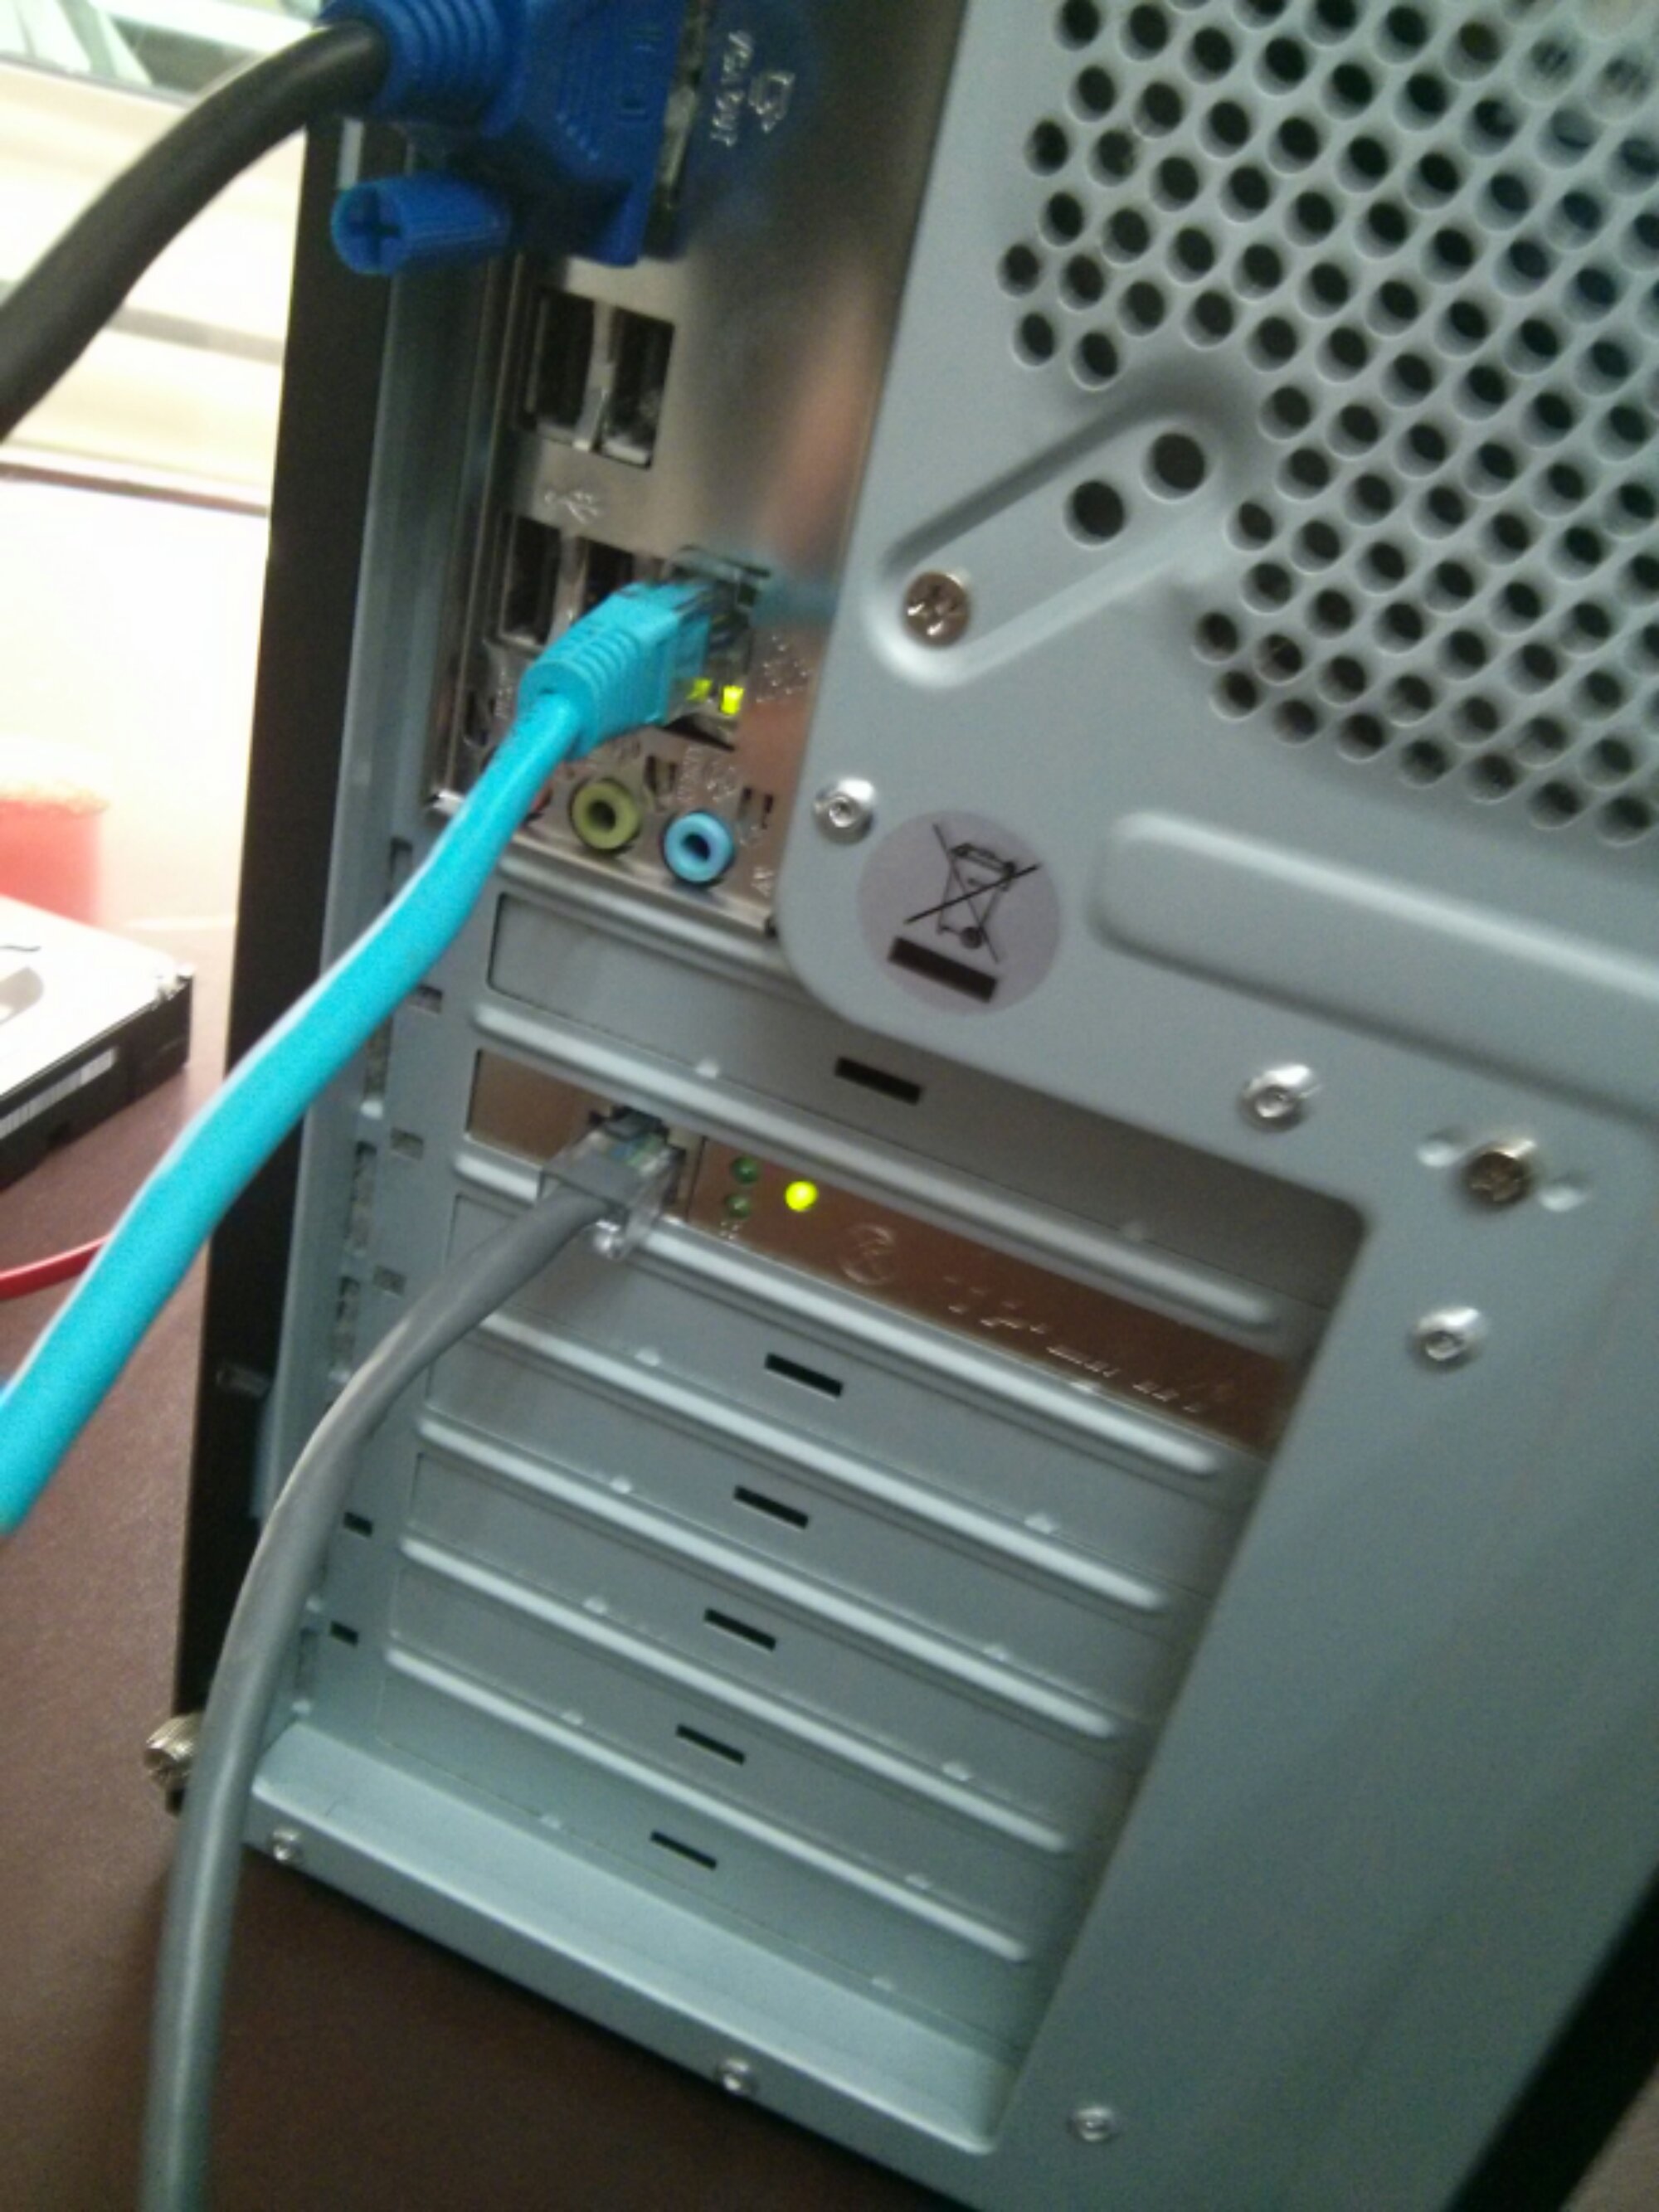
¿ Qué comandos serían necesarios ejecutar para que un sistema Linux pudiese sustituir el encaminador R2 mostrado en el diagrama ? Asume todos aquellos datos que necesites para realizar el ejercicio (nombre de interfaces, gateway, etc)

Network Diagram
Click for larger view

Previous Steps

Enable IP Forwarding

Temporal:

echo 1 > /proc/sys/net/ipv4/ip_forward

Permanent:

vim /etc/sysctl.conf

changue the value of  net.ipv4.ip_forward = 1

sysctl -p /etc/sysctl.conf # enable  changues

Configuring network intefaces

Temporal:

ifconfig eth0 down

ifconfig eth0 10.10.0.2 netmask 255.255.255.0 up
ifconfig eth1 down

ifconfig eth1 200.3.107.1 netmask 255.255.255.0 up

Persistent:

on debian: edit /etc/network/interfaces like this

auto lo

iface lo inet loopback

iface eth0 inet static
address 10.10.0.2
netmask 255.255.255.0

iface eth1 inet static
address 200.3.107.1
netmask 255.255.255.0

red hat and derivates: edit /etc/sysconfig/network-scripts/ifcfg-<interface name>

Device eth0 file /etc/sysconfig/network-scripts/ifcfg-eth0

DEVICE=”eth0″
IPADDR=10.10.0.2
METMASK=255.255.255.0
NETWORK=10.10.0.0
BROADCAST=10.0.0.255
ONBOOT=yes
BOOTPROTO=none
USERCTL=no

Device eth1 file /etc/sysconfig/network-scripts/ifcfg-eth1

DEVICE=”eth1″

IPADDR=200.3.107.1
METMASK=255.255.255.0
NETWORK=200.3.107.0
BROADCAST=200.3.107.255
ONBOOT=yes
BOOTPROTO=none
USERCTL=no

Option 1: Using Static Routing

temporal:

#from network 2 to network 3 assumed not necessary

#from network 3 to network 2 assumed not necessary

#from network 3 to network 1

ip route add 192.168.0.0/24 via 10.0.0.1 dev eth0

persistent:

on Debian

edit /etc/network/interfaces

write this at after the interfaces setup

up route add 192.168.0.0/24 via 10.0.0.1 dev eth0

on Fedora

edit /etc/sysconfig/network-scripts/route-<device>

GATEWAY0=10.0.0.1
NETMASK0= 255.255.255.0
ADDRESS0=192.168.0.0

if you want to add more routes increment the numbers next to GATEWAY, for example: GATEWAY1=10.0.0.2 NETMASK1= 255.255.255.0 ADDRESS1=192.168.30.0

Pros

  • No extra processing and added resources as in the case of dynamic routing protocols
  • No extra bandwidth requirement caused by the transmission of excessive packets for the routing table update process
  • Extra security by manually admitting or rejecting routing to certain networks

Cons

  • Network Administrators need to know the complete network topology very well in order to configure routes correctly
  • Topology changes need manual adjustment to all routers something which is very time consuming

Option 2: Using NAT

Basically NAT works like static routing but changes the output ip maintaining a internal

temporal:

# delete old configuration, if any
#Flush all the rules in filter and nat tables
iptables –flush
iptables –table nat –flush

# delete all chains that are not in default filter and nat table, if any
iptables –delete-chain
iptables –table nat –delete-chain

# Set up IP FORWARDing and Masquerading (NAT)
iptables –table nat –append POSTROUTING –out-interface eth0 -j MASQUERADE
iptables –append FORWARD –in-interface eth1 -j ACCEPT

permanent:

store the rules into the ip tables into a rules set

Pros

same that static plus

It also benefits in a security sense as attackants can’t target a computer directly, they have to first get past the router.

Cons

  • Network Address Translation does not allow a true end-to-end connectivity that is required by some real time applications. A number of real-time applications require the creation of a logical tunnel to exchange the data packets quickly in real-time. It requires a fast and seamless connectivity devoid of any intermediaries such as a proxy server that tends to complicate and slow down the communications process.
  • NAT creates complications in the functioning of Tunneling protocols. Any communication that is routed through a Proxy server tends to be comparatively slow and prone to disruptions. Certain critical applications offer no room for such inadequacies. Examples include telemedicine and teleconferencing. Such applications find the process of network address translation as a bottleneck in the communication network creating avoidable distortions in the end-to-end connectivity.
  • NAT acts as a redundant channel in the online communication over the Internet. The twin reasons for the widespread popularity and subsequent adoption of the network address translation process were a shortage of IPv4 address space and the security concerns. Both these issues have been fully addressed in the IPv6 protocol. As the IPv6 slowly replaces the IPv4 protocol, the network address translation process will become redundant and useless while consuming the scarce network resources for providing services that will be no longer required over the IPv6 networks.

Option 3: Using RIP

Rip is a distance routing protocol, is more flexible that using static routers and necessary if the number of subnets grows. Do you want to fight against hundred of rules? or assume the risk of downtime’s created by a router malfunction?

install zebra

permanent:

edit the /etc/zebra/ripd.conf file

redistribute connected

version 2

ip rip authentication string “max 16 characters”

router rip
network 10.10.0.0/24
network 200.3.107.200/24

pros

  • Easy to configure and use
  • V2 supports VLSM and CIDR

cons

  • Converges slowly on large networks
  • Doesn’t recognize bandwidth of links
  • Doesn’t support multiple paths for the same route
  • Routing updates can require significant bandwidth because the entire routing table is sent
  • Prone to routing loops

Option 4: Using OSPF (Open Shortest Path First)

OSPF is a routing protocol that uses the Dijkstra algorithm for get the quickest way. into a set of subnets where the routers are connected at different speeds could work better than R.I.P.

install zebra

add the necessary VTY in  /etc/services

zebrasrv        2600/tcp             # zebra service
zebra           2601/tcp              # zebra vty
ospfd           2604/tcp              # OSPFd vty
ospf6d          2606/tcp              # OSPF6d vty

edit zebra.conf file

hostname R2
password zebra
enable password z3bRa
log file /var/log/zebra/zebra.log
!
interface eth0
description Network 2
ip address 10.10.0.2/24
!
interface eth1
description Network 3
ip address 200.3.107.1/24

start zebra service

/usr/sbin/zebra –dk
/usr/sbin/ospfd –d

Telnet to port 2604 on the local machine to begin the OSPF configuration and type enable in order to get privileged mode

the next step will be announce the networks that we want  to publicity  in out networks

R2:~# telnet 0 2604
Trying 0.0.0.0…
Connected to 0.
Escape character is ‘^]’.

Hello, this is zebra (version 0.84b)
Copyright 1996-2000 Kunihiro Ishiguro

User Access Verification

ospfd> enable
Password:
ospfd# configure terminal
ospfd(config)# router ospf
ospfd(config-router)# network 10.10.0.0/24 area 0
ospfd(config-router)# passive-interface eth0

ospfd(config-router)# network 200.3.107.0/24 area 0
ospfd(config-router)# passive-interface eth1
ospfd(config-router)# end
ospfd# write file
Configuration saved to /etc/zebra/ospfd.conf

pros

  • Scalability – OSPF is specifically designed to operate with larger networks.
  • Full subnetting support – OSPF can fully support subnetting
  • Hello packets – OSPF uses small hello packets to verify link operation with out transferring large tables
  • TOS routing – OSPF can route packets by different criterion based on their type of service field
  • Tagged routes – Routes can be tagged with arbitrary values, easing interoperation.

cons

  • very intensive processor
  • maintaining multiple copies of routing information, increasing the amount of memory needed
  • OSPF can be logically segmented by using areasnot as easy to learn as some other protocols
  • if an entire network is running OSPF, and one link within it is “bouncing” every few seconds, then OSPF updates would dominate the network by informing every other router every time the link changed state.

sources:

http://www.techrepublic.com/article/use-zebra-to-set-up-a-linux-bgpospf-router/1047843

http://www.trainsignaltraining.com/ip-addressing-routing-default-static-routing

http://ipv6.com/articles/nat/NAT-Pros-and-Cons.htm

www.techrepublic.com/i/tr/one_offs/t063_preview.pdf

http://gotechsf.wordpress.com/2009/09/05/the-pros-and-cons-of-ospf-and-eigrp/

http://ipsit.bu.edu/sc546/sc441Spring2003/ospf/proscons.html

Practica 4 ASO, Fork o Threads ¿Que es mas eficiente?

Objetivo de Practica:

Vamos a empezar estudiar como el proceso es un parte fundamental para entender el funcionamiento del kernel. En este practica, vamos a compilar el kernel….

Otra conjunta de problemas que queremos ver tiene que ver con threads, como hemos visto en clase. Vamos a comprobar algunos problemas y ver como funcionan.

  1. Escribe un código para comparar el tiempo de ejecución para crear N procesos de fork y N threads. Plot su resultado como función de N.
  2. Comprobar como funciona el código de “mutexes” con threads. Intenta ejecutar este codigo sin los mutex locks. ¿Cuantos veces tiene un “race condition”. Puedes indicar como un % cuantos veces tienes un races?
  3. Compilar el kernel para que se puede compilar un kernel. Para ello tiene que instalar las utilidades de make y el libraría de “libncurses-dev”.

Parte 1

Cuando queremos aprovechar las ventajas de los nuevos procesadores de varios núcleos tenemos que recurrir a hacer fork’s del proceso o invocar threads

¿Cual es mejor?, usando el codigo  para los fork process y para los c threads (recordar añadir la opción -lpthread en gcc al compilar este ultimo)

aqui la tabla de tiempos en mi equipo

FORK FORK FORK Threads Threads Threads
real user sys real user sys
50 0.016 0.002 0.007 0.004 0.001 0.002
300 0.074 0.005 0.049 0.014 0.001 0.005
500 0.129 0.019 0.107 0.019 0.004 0.008
1000 0.238 0.023 0.226 0.037 0.000 0.017
5000 1.152 0.161 0.266 0.176 0.003 0.058
10000 2.306 0.255 2.685 0.354 0.018 0.114
30000 7.116 0.685 7.108 1.032 0.055 0.481
50000 11.665 1.048 11.665 1.764 0.114 0.693

y como interpretar datos de una tabla no es muy rapido ni intuitivo podemos crearemos unos gráficos con gnuplot, guardamos la tabla en un archivo de texto, (Fork and Threads Stats) abrimos el gnuplot y escribimos

set xlabel “Number of Process”

set ylabel “Seconds to Create”

plot “stats.txt” using 1:2 w lines title ‘Fork Real’,”stats.txt” using 1:3 w lines title “Fork User”,”stats.txt” using 1:4 w lines title ‘Fork Sys’,”stats.txt” using 1:5 w lines title ‘Threads Real’,”stats.txt” using 1:6 w lines title ‘Threads User’,”stats.txt” using 1:7 w lines title ‘Threads Sys’

y aparece en nuestra pantalla el siguiente gráfico

threads_vs_fork_total_times

puede dar lugar a confusión así que lo sacaremos solo con el tiempo real

total_time_fork_vs_threads

en definitiva si quieres ganar rendimiento el uso de los threads es mas adecuado.

Parte 2

Threads con Mutex
Threads con Mutex

Threads sin Mutex
Threads sin Mutex

Tras ejecutar los threads sin mutex varias veces el contador solo llega a valores entre 110-130 lo que significa que el 50-60% de los threads entran en “race condicion”

Parte 3

Documentación detallada para compilar el nucleo (Gentoo Handbook)

problemas con OpenDNS y SAMBA

samba
samba

¿Has decidido pasarte a OpenDNS y no puedes ver la lista de host en samba?, simplemente modifica tu archivo smb.conf introduciendo o editando la resolución de nombres

name resolve order = lmhosts bcast wins host

Ati Radeon Xpress 200M en Fedora 11

Simplemente configurar las siguientes opciones en Xorg.con

Section “Device”
### Available Driver options are:-
### Values: <i>: integer, <f>: float, <bool>: “True”/”False”,
### <string>: “String”, <freq>: “<f> Hz/kHz/MHz”
### [arg]: arg optional
#Option     “NoAccel”                “on”
#Option     “SWcursor”               # [<bool>]
#Option     “Dac6Bit”                # [<bool>]
#Option     “Dac8Bit”                # [<bool>]
#Option     “BusType”                # [<str>]
#Option     “CPPIOMode”              # [<bool>]
#Option     “CPusecTimeout”          # <i>
#Option     “AGPMode”                # <i>
#Option     “AGPFastWrite”           # [<bool>]
#Option     “AGPSize”                # <i>
#Option     “GARTSize”               # <i>
#Option     “RingSize”               # <i>
#Option     “BufferSize”             # <i>
#Option     “EnableDepthMoves”       # [<bool>]
#Option     “EnablePageFlip”         # [<bool>]
#Option     “NoBackBuffer”           # [<bool>]
#Option     “DMAForXv”               # [<bool>]
#Option     “FBTexPercent”           # <i>
#Option     “DepthBits”              # <i>
#Option     “PCIAPERSize”            # <i>
Option     “AccelDFS”               “off”
#Option     “IgnoreEDID”             # [<bool>]
#Option     “DisplayPriority”        # [<str>]
#Option     “PanelSize”              # [<str>]
#Option     “ForceMinDotClock”       # <freq>
#Option     “ColorTiling”            # [<bool>]
#Option     “VideoKey”               # <i>
#Option     “RageTheatreCrystal”     # <i>
#Option     “RageTheatreTunerPort”     # <i>
#Option     “RageTheatreCompositePort”     # <i>
#Option     “RageTheatreSVideoPort”     # <i>
#Option     “TunerType”              # <i>
#Option     “RageTheatreMicrocPath”     # <str>
#Option     “RageTheatreMicrocType”     # <str>
#Option     “ScalerWidth”            # <i>
#Option     “RenderAccel”            # [<bool>]
#Option     “SubPixelOrder”          # [<str>]
#Option     “ShowCache”              # [<bool>]
#Option     “DynamicClocks”          # [<bool>]
#Option     “VGAAccess”              # [<bool>]
#Option     “ReverseDDC”             # [<bool>]
#Option     “LVDSProbePLL”           # [<bool>]
Option     “AccelMethod”            “XAA”
Option     “DRI”                    “off”
#Option     “ConnectorTable”         # <str>
#Option     “DefaultConnectorTable”     # [<bool>]
#Option     “DefaultTMDSPLL”         # [<bool>]
#Option     “TVDACLoadDetect”        # [<bool>]
#Option     “ForceTVOut”             # [<bool>]
#Option     “TVStandard”             # <str>
#Option     “IgnoreLidStatus”        # [<bool>]
#Option     “DefaultTVDACAdj”        # [<bool>]
#Option     “Int10”                  # [<bool>]
#Option     “EXAVSync”               # [<bool>]
#Option     “ATOMTVOut”              # [<bool>]
#Option     “R4xxATOM”               # [<bool>]
Identifier  “Card0”
Driver      “radeon”
VendorName  “ATI Technologies Inc”
BoardName   “RC410 [Radeon Xpress 200M]”
BusID       “PCI:1:5:0”
EndSection

la aceleración 3D no funciona pero en mi caso es algo con lo que podre sobrevivir fijaros en la configuración de las opciones que es lo importante