Installing a SheevaPlug

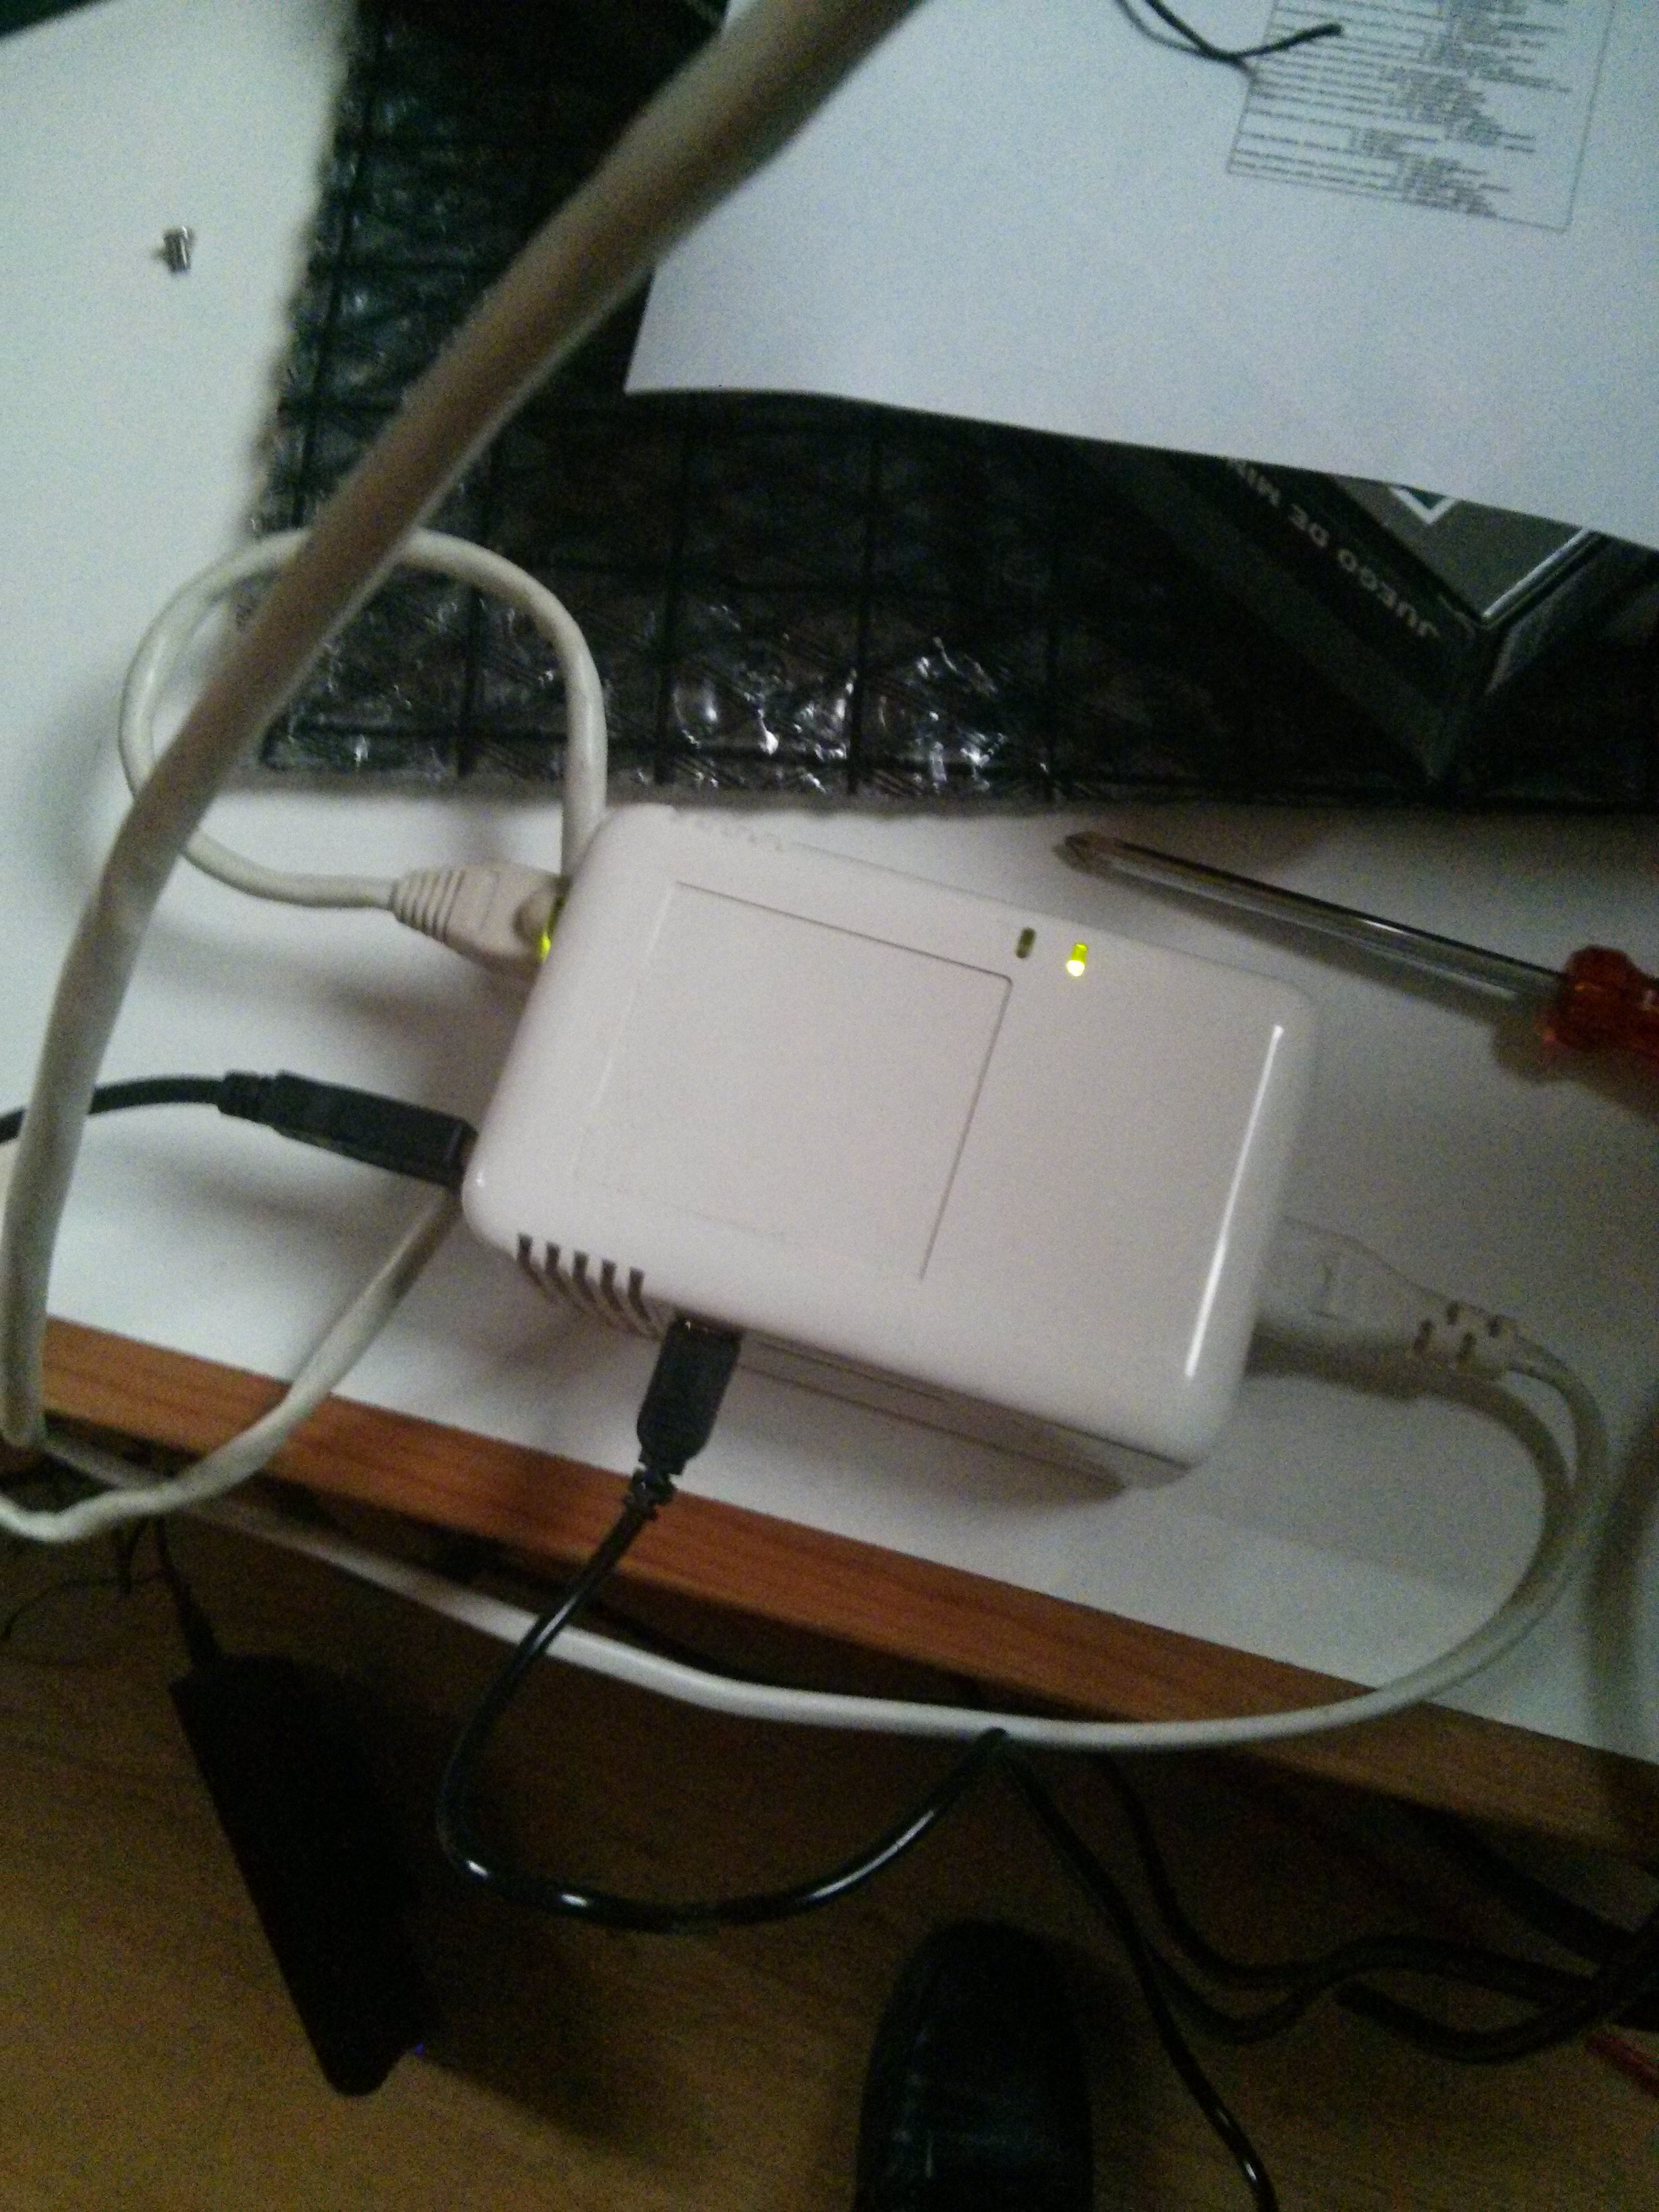
I needed a small file server at home, focused on  storage backups. Searching in my circuit warehouse i found my old sheevaplug and decided use it.

sheeva plug
sheeva plug

I choose install a Debian on it.

Step 1: Identify sheevaplug serial console

Plug sheeva plug microusb port to your desktop computer and execute dmesg in your computer.

Output will be like this

[ 3016.391801] ftdi_sio ttyUSB0: FTDI USB Serial Device converter now disconnected from ttyUSB0
[ 3016.391820] ftdi_sio 2-4.3:1.1: device disconnected
[ 3019.518529] usb 2-4.3: new full-speed USB device number 4 using ehci-pci
[ 3019.611536] usb 2-4.3: New USB device found, idVendor=9e88, idProduct=9e8f
[ 3019.611542] usb 2-4.3: New USB device strings: Mfr=1, Product=2, SerialNumber=3
[ 3019.611545] usb 2-4.3: Product: SheevaPlug JTAGKey FT2232D B
[ 3019.611548] usb 2-4.3: Manufacturer: FTDI
[ 3019.611551] usb 2-4.3: SerialNumber: FTT39IJR
[ 3019.615454] usb 2-4.3: Ignoring serial port reserved for JTAG
[ 3019.618652] ftdi_sio 2-4.3:1.1: FTDI USB Serial Device converter detected
[ 3019.618696] usb 2-4.3: Detected FT2232C
[ 3019.619289] usb 2-4.3: FTDI USB Serial Device converter now attached to ttyUSB0

That means that our serial console is attached to device /dev/ttyUSB0

Step 2: Connect to sheeva serial console

 cu -s 115200 -l /dev/ttyUSB0

with this command you can access to sheeva console

Connected.

Marvell>>

Step 3: Verify U-Boot version

Marvell>> version

U-Boot 2011.12 (Mar 11 2012 – 18:59:46)
Marvell-Sheevaplug – eSATA – SD/MMC
gcc (Debian 4.6.3-1) 4.6.3
GNU ld (GNU Binutils for Debian) 2.22

I found in blaicher.com a newer uboot versión and newer versions are always better i decided to update it (you con download here -> u-boot_sheeva_plug_2013_10_rc1)

You need to know your MAC Address before update

Marvell>> printenv ethaddr
ethaddr=YOUR-MAC-ADDRESS
Marvell>>

I uncompress zip file and put into a flash memory, attached flash to sheeva and execute there commands

usb start
fatload usb 0:1 0x0800000 u-boot.kwb
nand erase 0x0 0x60000
nand write 0x0800000 0x0 0x60000
reset
setenv ethaddr YOUR-MAC-ADDRESS
saveenv
reset

Now you have a newer u-boot version


Step 4: Install Debian

I copied uImage and uInitrd into a flash memory (uImage and uInitrd debian sheeva) and execute

usb start
fatload usb 0:1 0x00800000 /uImage
fatload usb 0:1 0x01100000 /uInitrd

and started installer

setenv bootargs console=ttyS0,115200n8 base-installer/initramfs-tools/driver-policy=most
bootm 0x00800000 0x01100000

Follow on screen instructions and when finished installer will reboot sheeva.

Stop u-boot loading and execute

setenv bootargs_console console=ttyS0,115200
setenv bootcmd_usb ‘usb start; ext2load usb 0:1 0x00800000 /uImage; ext2load usb 0:1 0x01100000 /uInitrd’
setenv bootcmd ‘setenv bootargs $(bootargs_console); run bootcmd_usb; bootm 0x00800000 0x01100000’
saveenv

and start your linux

run bootcmd


references:

http://www.blaicher.com/2012/07/installing-debian-on-a-sheevaplug-into-flash/

http://cyrius.com/debian/kirkwood/sheevaplug/

Install BackupPC on Centos 6.3

BackupPC logo

Backups are important, every hard disk, every motherboard, every piece of hardware will fail.  Remember this if you don’t have a backup system.

Step 1. Install required software

enable epel repo

yum install wget

wget http://ftp.rediris.es/mirror/fedora-epel/6/i386/epel-release-6-7.noarch.rpm
rpm -i epel-release-6-7.noarch.rpm

yum install BackupPC

Step 2:enable Apache webserver

edit apache config file

vi /etc/httpd/conf/httpd.conf

and make apache run as backuppc user

User backuppc

edit BackupPC apache config

vi /etc/httpd/conf.d/BackupPC.conf

should be like these

<IfModule !mod_authz_core.c>
# Apache 2.2
order deny,allow
allow from all
allow from 127.0.0.1
allow from ::1
require valid-user
</IfModule>

chkconfig httpd on

/etc/init.d/httpd start

Step 3: Configure Backuppc password

htpasswd -c /etc/BackupPC/apache.users backuppc

Step 4: Enable BackupPC Service

chkconfig backuppc on

/etc/init.d/backuppc start

Step 5: Verify installation

open a browser and navigate to

http://<Backupchost>/backuppc

Clean backup pc install

Migrating from M0n0wall to pfSense

During the last year,  talking with some colleages about firewalls and operative systems the mayor part of then said that they’re using, Pfsense instead M0n0wall. Recently I get a new job and my home networks are in the same range that the work network and some clients. To avoid this situation I decided migrate my router from M0n0wall to Pfsense and thats are the steps:

I decided maintain a copy of the actual M0n0wall config, bougth a new compact flash was the quick option.

Download pfSense

First I downloaded the version for my router, in this case it’s and ALIX Board without VGA,, that means that i need to choose the nanobsd version and my compactFlash size is 4Gb, if I had a bigger campactFlash I just only need to take the 4gb versión.

wget
wget

wget

Verify downloaded image:

md5sum pfSense-2.0.1-RELEASE-4g-i386-nanobsd.img.gz

and check if output it’s the same that content in /pfSense-2.0.1-RELEASE-4g-i386-nanobsd.img.gz.md5

sha256sum pfSense-2.0.1-RELEASE-4g-i386-nanobsd.img.gz

and check if output it’s the same that content in /pfSense-2.0.1-RELEASE-4g-i386-nanobsd.img.gz.sha256

Dump pfSense into the compact flash

In my case as fedora user i need to detect what device file is linked to my compactFlash i make this

open a root cosole and write

mount >mountedBefore

this generate a file with actual mounted files

i attach the compact flash and execute

mount >mountedAfter

now i write

diff mountedBefore mountedAfter

and the output will be like:

> /dev/sdd1 on /run/media/luzem/753C-3741 type vfat (rw,nosuid,nodev,relatime,uid=1000,gid=1000,fmask=0022,dmask=0077,codepage=cp437,iocharset=ascii,shortname=mixed,showexec,utf8,errors=remount-ro,uhelper=udisks2)

It said that my compact flash is on /dev/sdd file

first i need to umount it

umount /dev/sdd1

now i decompress and dump pfSense into compact flash writing

zcat pfSense-2.0.1-RELEASE-4g-i386-nanobsd.img.gz | dd of=/dev/sdd bs=16k

you should get and output like these

244138+1 records in
244138+1 records out
3999969792 bytes (4.0 GB) copied, 226.826 s, 17.6 MB/s

Putting pfSense into alix board

Now plug the compactFlash on your board

connect your board , power, ethernet ….

enjoy reconfiguring yout new router

alix 2d3

Installing GitLab 2.1 on Centos 6

gitlab logo

Step 1: Install needed packages

you will need remove installed ruby because repo version is 1.8.7 and we need 1.9 at least

yum remove ruby

yum install wget

enable epel repos

wget

rpm -Uvh epel-release-6-5.noarch.rpm

install required libraries

yum install readline-devel  libyaml-devel gdbm-devel  ncurses-devel  redis openssl-devel zlib-devel gcc gcc-c++ make autoconf readline-devel curl-devel expat-devel gettext-devel  tk-devel  libxml2-devel libffi-devel libxslt-devel libicu-devel httpd httpd-devel gitolite git-all python-devel python-pip sqlite-devel sendmail vim mysql-devel

Step 2: Install Ruby 1.9.3

wget http://ftp.ruby-lang.org/pub/ruby/1.9/ruby-1.9.3-p0.tar.gz

tar xzvf ruby-1.9.3-p0.tar.gz

cd ruby-1.9.3-p0

./configure

make

make install

Step 3: Install gitolite

Create gitolite-admin user

    useradd -d /home/gitolite-admin gitolite-admin

generate RSA key pair for gitolite-admin user

su gitolite-admin
ssh-keygen
exit

Move generate public key to gitolite home dir

cp /home/gitolite-admin/.ssh/id_rsa.pub /var/lib/gitolite/id_rsa_gitolite_admin.pub
chown gitolite:gitolite /var/lib/gitolite/id_rsa_gitolite_admin.pub

complete gitolite and gitolite-admin users pairing

su gitolite
gl-setup /var/lib/gitolite/id_rsa_gitolite_admin.pub

a editor will opened changue repo permissions to 0007

$REPO_UMASK to 0007
exit
su gitolite-admin
cd
git clone gitolite@localhost:gitolite-admin

in the last command you clone the gitolite-admin repo on gitolite-admin’s home. Gitolite-admin repo is gitolite config

before continue we need configure gitolite-admin git profile

git config –global user.email “gitolite-admin@localhost”
git config –global user.name “gitolite-admin”
exit

add gitolite-admin to gitolite group

usermod -a -G gitolite gitolite-admin

changue gitolite-admin password

passwd gitolite-admin

Step 6 Launch Redis

chkconfig redis on

/etc/init.d/redis start

Step 7 GitLab

Clone GitLab sourcecode

cd /var/www

git clone git://github.com/gitlabhq/gitlabhq.git

chown -R gitolite-admin:gitolite-admin gitlabhq/

cd gitlabhq/

Install phython dependencies

pip-python install pygments

Install required gems

gem install bundler

bundle install

su gitolite-admin

bundle install

Prepare config files

cp config/database.yml.example config/database.yml

cp config/gitlab.yml.example config/gitlab.yml

Prepare production enviroment

RAILS_ENV=production rake db:setup
RAILS_ENV=production rake db:seed_fu

you will get these login data

login………admin@local.host
password……5iveL!fe

Config gitolite gitlab link

vim config/gitlab.yml

your  git_host: section must be like this

# Git Hosting congiguration
git_host:
system: gitolite
admin_uri: gitolite@localhost:gitolite-admin
base_path: /var/lib/gitolite/repositories/
host: localhost
git_user: gitolite
# port: 22

fix gitolite permissions

chmod -R 770 /var/lib/gitolite/repositories/

try your installation launching webrick

bundle exec rails s -e production

open a web broser, write  yourhost:3000 and check if everything is working if you get an error send me a comment

Install passenger for Apache

gem install passenger
passenger-install-apache2-module

follow screen instructions

edit apache config file

vim /etc/httpd/conf/httpd.conf

and append these lines at the end

LoadModule passenger_module /usr/local/lib/ruby/gems/1.9.1/gems/passenger-3.0.11/ext/apache2/mod_passenger.so
PassengerRoot /usr/local/lib/ruby/gems/1.9.1/gems/passenger-3.0.11
PassengerRuby /usr/local/bin/ruby

enable apache service

/etc/init.d/httpd start

chkconfig httpd on

Sources

http://wasil.org/en/gitlab-installation-on-fedora-16-with-gitolite

http://rickfoosusa.blogspot.com/2011/08/gitolite-tutorial-senawario.html

Installing basic enviroment for start Developing Ruby on Rails apps under windows

If you plant to start developing under Ruby on Rails one good start point could be installing a basic developement enviroment.

If you are using windows I hope that this tutorial could be usefull for you.

1.- Download rubycompiler, interpreter

you can get it from http://rubyforge.org/frs/?group_id=167

2.- Download RubyGems, will be necesary for get libraries

you can get it from http://rubyforge.org/frs/?group_id=126

uncompres the zip file, and open a terminal

cd <directory where you decompress rubygems>

ruby setup.rb

3.- Download rubyInstaller developement kit

http://github.com/downloads/oneclick/rubyinstaller/DevKit-tdm-32-4.5.2-20110712-1620-sfx.exe

execute the downloaded file in a directory like: C:\\Devkit

when you have it extrated open a terminal and write

cd <Devkit installer dir>

ruby dk.rb init

ruby dk.rb review

ruby dk.rb install

4.- Install rails

Open a terminal and write

gem install rails

5.- Donload and install JDK (needed for netbeans)

http://www.oracle.com/technetwork/java/javase/downloads/index.html

6.- Download amd install  Netbeans

http://netbeans.org/

7.- Install Netbeans ruby plugin

Open netbeans and select tools->plugins menu

netbeans plugins

a new dialog appears, select avaliable plugins tab and mak ruby and rails plugin

ruby and rails plugin netbeansClick install

and follow the install wizard

Congratulations you have a ruby on rails basic enviroment installed

You can create a new ruby on rails project in the wizard File->New Project

Install redmine in RHEL6 and RH based distributions

Redmine

Step 1: Install packages needed
su
yum install mysql-server ruby rubygems httpd ruby-devel mysql-devel gcc-c++ curl-devel httpd-devel apr-devel apr-util-devel

Step 2: Enable services at boot-time
apache server
chkconfig httpd on

mysql server
chkconfig mysqld on

Step 3: Open needed ports

open /etc/sysconfig/iptables in your config file and add these rules

-A INPUT -m state –state NEW -m tcp -p tcp –dport 80 -j ACCEPT

-A INPUT -m state –state NEW -m tcp -p tcp –dport 3000 -j ACCEPT

Step 4: Install ruby libs
gem install rails -v=2.3.5
gem install rack -v=1.0.1
gem install mysql
gem install -v=0.4.2 i18n
gem install passenger

Step 5: Download redmine
wget http://rubyforge.org/frs/download.php/74419/redmine-1.1.2.tar.gz

step 6: add redmine user

groupadd redmine
useradd -g redmine redmine
passwd redmine

step 7: decompress redmine
tar -xzvf redmine-1.1.2.tar.gz

step 8: move to destination dir
cd <dest_dir>

step 9: copy redmine
cp -R <redmine_uncompress_dir>/* ./

Step 10: create a new database and a new username in mysql

step 11: configure redmine
cd config/
mv database.yml.example database.yml
open database.yml #complete the data needed
cd ..

step 12: generate session store secret
rake generate_session_store

step 13: generate database structure
RAILS_ENV=production rake db:migrate

step 14: generate default configuration
RAILS_ENV=production rake redmine:load_default_data

step 15 Setting up permissions
mkdir tmp public/plugin_assets #in case of the dirs doesn’t exists
sudo chown -R redmine:redmine files log tmp public/plugin_assets # change redmine:redmine if you create a diferent user
sudo chmod -R 755 files log tmp public/plugin_assets

step 16 check redmine installation
ruby script/server webrick -e production
open in your browser :3000
login is admin pass is admin too

step 17 enable mod_cgi in apache
check in /etc/httpd/conf/httpd.conf if exist the line
LoadModule cgi_module modules/mod_cgi.so

step 18 create public/dispatch.cgi file
mv public/dispatch.cgi.example public/dispatch.cgi
edit the first line
from
#!/usr/bin/env ruby
to
#!/usr/bin/ruby

step 19 grant execution rights
chmod 755 public/dispatch.cgi

step 20 grant apache permissions
chown -R apache:apache files log tmp vendor

step 21 set production state in file config/environment.rb
uncoment the line ENV[‘RAILS_ENV’] ||= ‘production’

step 22 configure passenger
passenger-install-apache2-module and follow instructions

if you get an error check this http://stackoverflow.com/questions/5585583/problem-in-installing-passenger
In fact, just need to edit the ” /usr/lib/ruby/gems/1.8/gems/passenger-3.0.6/lib/phusion_passenger/platform_info/apache.rb” file, and replace “test_exe_outdir” with “tmpexedir”.

step 23 Enable cgi in SeLinux
setsebool -P httpd_enable_cgi 1

step 24 add virtual host in apache config file
ServerName redmine..com
ServerAdmin webmaster@.com
DocumentRoot /live/redmine/public/
ErrorLog logs/redmine_error_log
Options Indexes ExecCGI FollowSymLinks
Order allow,deny
Allow from all
AllowOverride all

Step 25: close 3000 port editing /etc/sysconfig/iptables file

-A INPUT -m state –state NEW -m tcp -p tcp –dport 3000 -j ACCEPT

Step 26: reboot or restart services

Redmine Working

Instalando Adobe Flash Player en Fedora 13 64bits

  • Abrir la terminal
  • Descargar Adobe Flash Player
    wget
  • Descomprimir el Reproductor
    tar -xzvf libflashplayer-10.0.45.2.linux-x86_64.so.tar.gz
  • Mover la librería a la carpeta de plugins de Firefox
    mv libflashplayer.so ~/.mozilla/plugins/
  • Reiniciar el Firefox y entrar en youtube para ver un video
  • Eliminar el archivo descargado
    rm libflashplayer-10.0.45.2.linux-x86_64.so.tar.gz

Instalando BackTrack 4 Pre-Final en un pendrive o USB en modo persistente

Modo persistente: Almacena los cambios realizados entre reinicio y reinicio

back track 4
back track 4

Instalar BackTrack 4 Pre finalen un pendrive  es sencillo:

Consigue un pendrive o memoria usb vacía (Yo he usado uno de 4 gigas)

Descarga la iso de BackTrack 4 Pre Release (aquí)

Particionar el pendrive

Puedes utilizar el programa que quieras si no estas muy familiarizado con fdisk  Palimpsest  es una buena opción

Necesitamos crear un par de  particiones

  • Una partición de al menos 1,5GB con el formato vfat
  • La segunda partición  con el resto

Una vez creadas necesitamos darle formato como root o con sudo (en mi caso el pendrive estaba en sdb)

  • mkfs.vfat /dev/sdb1
  • mkfs.ext3 -b 4096 -L casper-rw /dev/sdb2

Un par de detalles que deberías de tener en cuenta: Estamos usando ext3 en lugar de ext2 y deberías de añadir la opción -L casper-rw al formatear la unidad. La anterior opción nos ayuda para solventar los problemas que teníamos cuando necesitábamos introducir el nombre de la partición  para que la persistencia funcionara. Y como veras no sera necesario 😛

Una vez formateados los sistemas de archivos vamos a hacer iniciable el pendrive.

Volcar la imagen ISO al pendrive

Aquí ya deberías de tener bajada la ISO, en caso contrario vete a tomar un café con los amigos mientras esperas, la opción mas fácil para pasar la iso al pendrive es UNetbootin descargatelo de la pagina o de tus repositorios (existe versión para Windows) simplemente seleccionas la opción imagen de ISO le introduces la ruta a la ISO de BackTrack  y seleccionas el pendrive donde quieres volcar la imagen “la partición FAT no la EXT3”

UNetbootin
UNetbootin

Cambios persistentes

Activar los cambios persistentes es mucho mas sencillo en esta versión de Backtrack que en anteriores como la 4 beta o la 3

Primeramente, para obtener una persistencia básica no tenemos que hacer nada simplemente es seleccionar  la opción del menú del GRUB desgraciadamente esta persitencia es basica asi que deberemos de editar un par de archivos (desde fuera del live-pendrive)

Abre el archivo syslinux.cfg que esta en la primera partición de tu pendrive

  1. busca la linea que dice “menu label Start Persistent Live CD”
  2. Añade “default <label>” sin comillas, donde label es el texto de la opcion que quieres que sea la predeterminada en el arranque en mi caso ubnentry4 “puede ser diferente en tu caso
  3. Guarda los cambios en el archivo.

aqui os dejo en negrita marcados los cambios que realiza en el archivo

default vesamenu.c32
prompt 0
menu title UNetbootin
timeout 100

default ubnentry4

label unetbootindefault
menu label Default
kernel /ubnkern
append initrd=/ubninit BOOT=casper boot=casper nopersistent rw quiet vga=0x317

label ubnentry0
menu label Start BackTrack FrameBuffer (1024×768)
kernel /boot/vmlinuz
append initrd=/boot/initrd.gz BOOT=casper boot=casper nopersistent rw quiet vga=0x317

label ubnentry1
menu label Start BackTrack FrameBuffer (800×600)
kernel /boot/vmlinuz
append initrd=/boot/initrd800.gz BOOT=casper boot=casper nopersistent rw quiet vga=0x314

label ubnentry2
menu label Start BackTrack Forensics (no swap)
kernel /boot/vmlinuz
append initrd=/boot/initrdfr.gz BOOT=casper boot=casper nopersistent rw vga=0x317

label ubnentry3
menu label Start BackTrack in Safe Graphical Mode
kernel /boot/vmlinuz
append initrd=/boot/initrd.gz BOOT=casper boot=casper xforcevesa rw quiet

label ubnentry4
menu label Start Persistent Live CD
kernel /boot/vmlinuz
append initrd=/boot/initrd.gz BOOT=casper boot=casper persistent rw quiet

label ubnentry5
menu label Start BackTrack in Text Mode
kernel /boot/vmlinuz
append initrd=/boot/initrd.gz BOOT=casper boot=casper nopersistent textonly rw quiet

label ubnentry6
menu label Start BackTrack Graphical Mode from RAM
kernel /boot/vmlinuz
append initrd=/boot/initrd.gz BOOT=casper boot=casper toram nopersistent rw quiet

label ubnentry7
menu label Memory Test
kernel /ubnkern
append initrd=/ubninit

label ubnentry8
menu label Boot the First Hard Disk
kernel /ubnkern
append initrd=/ubninit

Crea un archivo y reinicia el live pendrive para asegurarte de que el modo persistente realmente funciona si al reiniciar el archivo aparece felicidades ha ido todo bien, en caso contrario googlea un poco y deja un comentario 😛

Fuente : http://www.infosecramblings.com/backtrack/backtrack-4-usbpersistent-changesnessus/