Contraseñas router EPC3928AD

Si R te cambia tu router por un EPC3928AD estas son las contraseñas de acceso

EPC3928AD

Sin aprovisionar, antes de que lo enchufes a R

  • usuario y contraseña en blanco

Aprovisionado, 45 minutos despues de que lo enchufes a R

  • usuario admin
  • contraseña: clientesR

Si lo quereis poner en modo bridge debereis de aprovisionarlo para que actualize el firmware.

Si tenias ip estatica, prepara el nombre del titular, en dni y los 6 ultimos digitos de la cuenta bancaria para verificar que eres tu el cliente

Installing a SheevaPlug

I needed a small file server at home, focused on  storage backups. Searching in my circuit warehouse i found my old sheevaplug and decided use it.

sheeva plug
sheeva plug

I choose install a Debian on it.

Step 1: Identify sheevaplug serial console

Plug sheeva plug microusb port to your desktop computer and execute dmesg in your computer.

Output will be like this

[ 3016.391801] ftdi_sio ttyUSB0: FTDI USB Serial Device converter now disconnected from ttyUSB0
[ 3016.391820] ftdi_sio 2-4.3:1.1: device disconnected
[ 3019.518529] usb 2-4.3: new full-speed USB device number 4 using ehci-pci
[ 3019.611536] usb 2-4.3: New USB device found, idVendor=9e88, idProduct=9e8f
[ 3019.611542] usb 2-4.3: New USB device strings: Mfr=1, Product=2, SerialNumber=3
[ 3019.611545] usb 2-4.3: Product: SheevaPlug JTAGKey FT2232D B
[ 3019.611548] usb 2-4.3: Manufacturer: FTDI
[ 3019.611551] usb 2-4.3: SerialNumber: FTT39IJR
[ 3019.615454] usb 2-4.3: Ignoring serial port reserved for JTAG
[ 3019.618652] ftdi_sio 2-4.3:1.1: FTDI USB Serial Device converter detected
[ 3019.618696] usb 2-4.3: Detected FT2232C
[ 3019.619289] usb 2-4.3: FTDI USB Serial Device converter now attached to ttyUSB0

That means that our serial console is attached to device /dev/ttyUSB0

Step 2: Connect to sheeva serial console

 cu -s 115200 -l /dev/ttyUSB0

with this command you can access to sheeva console

Connected.

Marvell>>

Step 3: Verify U-Boot version

Marvell>> version

U-Boot 2011.12 (Mar 11 2012 – 18:59:46)
Marvell-Sheevaplug – eSATA – SD/MMC
gcc (Debian 4.6.3-1) 4.6.3
GNU ld (GNU Binutils for Debian) 2.22

I found in blaicher.com a newer uboot versión and newer versions are always better i decided to update it (you con download here -> u-boot_sheeva_plug_2013_10_rc1)

You need to know your MAC Address before update

Marvell>> printenv ethaddr
ethaddr=YOUR-MAC-ADDRESS
Marvell>>

I uncompress zip file and put into a flash memory, attached flash to sheeva and execute there commands

usb start
fatload usb 0:1 0x0800000 u-boot.kwb
nand erase 0x0 0x60000
nand write 0x0800000 0x0 0x60000
reset
setenv ethaddr YOUR-MAC-ADDRESS
saveenv
reset

Now you have a newer u-boot version


Step 4: Install Debian

I copied uImage and uInitrd into a flash memory (uImage and uInitrd debian sheeva) and execute

usb start
fatload usb 0:1 0x00800000 /uImage
fatload usb 0:1 0x01100000 /uInitrd

and started installer

setenv bootargs console=ttyS0,115200n8 base-installer/initramfs-tools/driver-policy=most
bootm 0x00800000 0x01100000

Follow on screen instructions and when finished installer will reboot sheeva.

Stop u-boot loading and execute

setenv bootargs_console console=ttyS0,115200
setenv bootcmd_usb ‘usb start; ext2load usb 0:1 0x00800000 /uImage; ext2load usb 0:1 0x01100000 /uInitrd’
setenv bootcmd ‘setenv bootargs $(bootargs_console); run bootcmd_usb; bootm 0x00800000 0x01100000’
saveenv

and start your linux

run bootcmd


references:

http://www.blaicher.com/2012/07/installing-debian-on-a-sheevaplug-into-flash/

http://cyrius.com/debian/kirkwood/sheevaplug/

Enable ssh access on a Iomega ix4-200d

If you need to enable ssh access in your nas device is easy.

For example if your nas ip is 192.168.0.24 open a web browser with  https://192.168.0.24/supportaccess.html

ix4-200d enable sshmark Allow remote access for support (SSH and SFTP)

click apply and iomega ix4-200d will reboot

to access over ssh your need to add soho prefix in your password. For example if your admin password  is peter your ssh password will be sohopeter

Migrating from M0n0wall to pfSense

During the last year,  talking with some colleages about firewalls and operative systems the mayor part of then said that they’re using, Pfsense instead M0n0wall. Recently I get a new job and my home networks are in the same range that the work network and some clients. To avoid this situation I decided migrate my router from M0n0wall to Pfsense and thats are the steps:

I decided maintain a copy of the actual M0n0wall config, bougth a new compact flash was the quick option.

Download pfSense

First I downloaded the version for my router, in this case it’s and ALIX Board without VGA,, that means that i need to choose the nanobsd version and my compactFlash size is 4Gb, if I had a bigger campactFlash I just only need to take the 4gb versión.

wget
wget

wget

Verify downloaded image:

md5sum pfSense-2.0.1-RELEASE-4g-i386-nanobsd.img.gz

and check if output it’s the same that content in /pfSense-2.0.1-RELEASE-4g-i386-nanobsd.img.gz.md5

sha256sum pfSense-2.0.1-RELEASE-4g-i386-nanobsd.img.gz

and check if output it’s the same that content in /pfSense-2.0.1-RELEASE-4g-i386-nanobsd.img.gz.sha256

Dump pfSense into the compact flash

In my case as fedora user i need to detect what device file is linked to my compactFlash i make this

open a root cosole and write

mount >mountedBefore

this generate a file with actual mounted files

i attach the compact flash and execute

mount >mountedAfter

now i write

diff mountedBefore mountedAfter

and the output will be like:

> /dev/sdd1 on /run/media/luzem/753C-3741 type vfat (rw,nosuid,nodev,relatime,uid=1000,gid=1000,fmask=0022,dmask=0077,codepage=cp437,iocharset=ascii,shortname=mixed,showexec,utf8,errors=remount-ro,uhelper=udisks2)

It said that my compact flash is on /dev/sdd file

first i need to umount it

umount /dev/sdd1

now i decompress and dump pfSense into compact flash writing

zcat pfSense-2.0.1-RELEASE-4g-i386-nanobsd.img.gz | dd of=/dev/sdd bs=16k

you should get and output like these

244138+1 records in
244138+1 records out
3999969792 bytes (4.0 GB) copied, 226.826 s, 17.6 MB/s

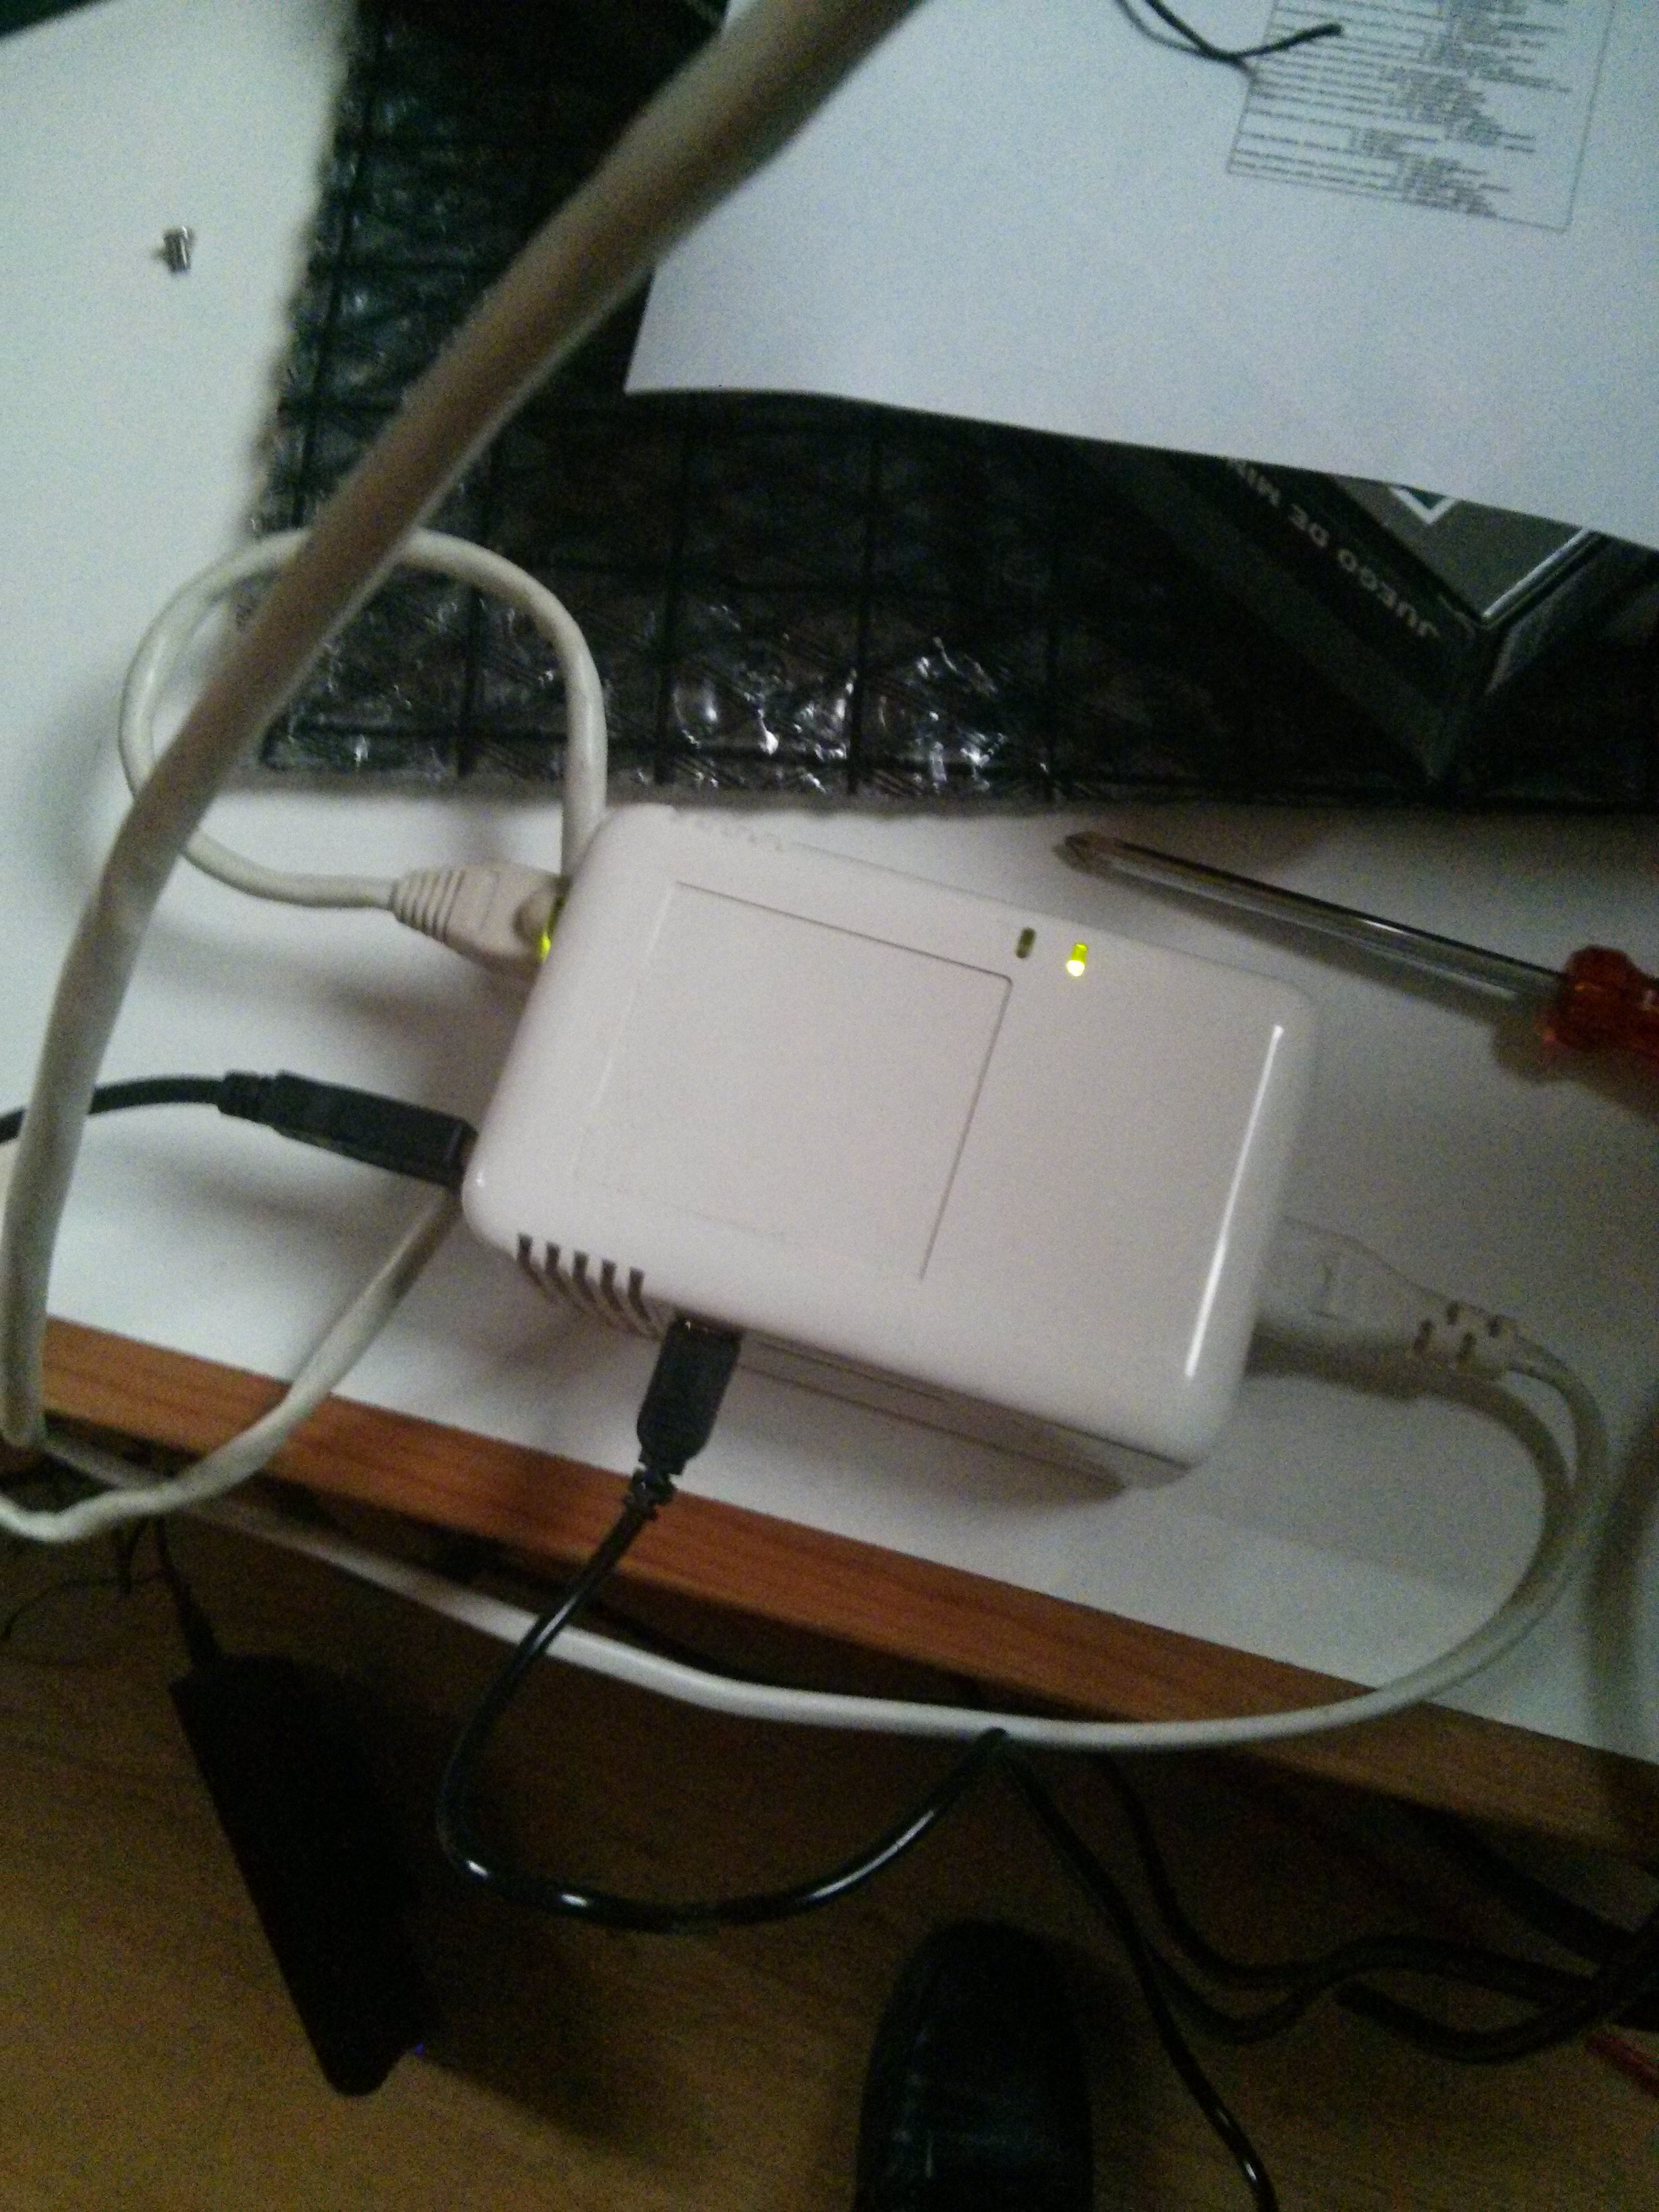
Putting pfSense into alix board

Now plug the compactFlash on your board

connect your board , power, ethernet ….

enjoy reconfiguring yout new router

alix 2d3

Installing OpenWRT Backfire in a fonera 2100

Sometimes pocket money isn’t enought for buy new network devices or we want to save some money changuing no existant money for personal time. In my case I needed to create a wireless bridge in my personal network, pass a ethernet wire between two builds wasn’t an option. Searching in my forgoten stuff boxes i found two foneras model 2100. Fon’s firmware isn’t powerfull enought to get wds and when these things happens Free Software is our solution. A couple of foneras Ready for flashing I’m a lucky man and I also found a usb to 3,3V serial adapter, one of my superpower is that i can brick everything. First of all we need to plug our serial adapter into fonera’s port, check the attached image for see jtag pinouts Fonera pinouts

when we have our jtag port connected we need a software for send data over jtag in my case i use GtkTerm.

in debian is simply I open a root terminal and I write

apt-get install GtkTerm

in the same term i write

gtkterm

I use a root terminal because I don’t want waste time configuring /dev/ttSy* permissions

next step is configure port speed 9600,8N1

in GtkTerm menu select configuration/port and fill data boxes, in my case port is /dev/ttyUSB0 if you don’t know your port a dmesg output can be helpul.

GtkTerm 9600,8N1

now is time to plug powersounce on our fonera and see output.

must be something like this in our gtkterm

Fonera booting

we need get access to redboot console  you only need un plug and plug powersource to fonera and press continously ctrl+c until you see

RedBoot>

we need download ou firmware go to

http://downloads.openwrt.org/backfire/10.03.1/atheros/

and download these files

  • openwrt-atheros-vmlinux.lzma
  • openwrt-atheros-root.squashfs
save the files and then we need install tftp server in our machine.

search ftpd config for your distro

Next step will be load files into fonera over tftpd config
in gtkterm we need write
ip_address -h <TFTP SERVER IP ADRESS> -l <ONE FREE IP IN YOUR NETWORK>/24
load -r -b %{FREEMEMLO} openwrt-atheros-vmlinux.lzma
fis init
fis create -e 0x80041000 -r 0x80041000 vmlinux.bin.l7
load -r -b %{FREEMEMLO} openwrt-atheros-root.squashfs
fis create rootfs
reset
if your system doesn’t boot because you have installed dd-wrt before or something similar write this in redboot console:
 fconfig boot_script_data
fis load -l vmlinux.bin.l7
exec
“press enter”
reset
enjoy
sources:

De Nuevo Online

Pues al final no era un ataque lo que tiro mi blog el lunes, simplemente fue que el antiguo servidor dijo Basta y  se murió

no esta mal para una placa base con 10 añitos de vida y una vida ejerciendo de servidor intermitentemente

para los amantes de la potencia el servidor estaba compuesto por:

  • Una placa base Via Epia (descripción técnica ) con un procesador C3 a 800mhz
  • 192MB de Sdram a PC133
  • Un disco duro Maxtor DiamondMax Plus 9 160GB ATA/133
  • y una instalación de Gentoo linux porque el Via C3 cuenta con todas las instrucciones de un i686 menos la Cmov por lo que me vi obligado a bajar los fuentes de todo y compilar

La defunción del Via C3 estaba programada para veranito pero desgraciadamente opto por el suicidio antes de una jubilación, hace unas horas he llegado a casa,reiniciado el pc, reseteado la bios peroel servidor no arrancaba.  -Hombre precavido vale por dos y había adelantado la compra de un nuevo servidor asi que solo a sido recuperar los datos y poner todo en marcha.

Para los interesados no tenia copia de seguridad de la base de datos y me vi obligado a recuperar los datos del disco duro.

El proceso es fácil,

  1. trasladar el disco duro a un adaptador USB, el kernel de la Gentoo estaba demasiado tuneado para que arrancara en otro sitio que no fuera una Via EPIA,
  2. Conectar el disco duro a otro ordenador (Ordenador B) y copiar las carpetas del directorio data de mysql al escritorio el directorio lo podéis obtener pasandole una mirada al  archivo “/etc/my.cnf“.
  3. Cada base de datos que teníamos en el antiguo servidor debería tener un directorio con tres archivos para cada tabla el .frm (estructura de la tabla), .MYD (datos de la tabla) y MYI (indices de la tabla).
  4. Obtener una copia de seguridad antigua de la base de datos y restaurarla en el servidor del ordenador (si no tenéis copia de seguridad crear tablas con 1 campo para generar los archivos frm,MYD,MYI de cada tabla).
  5. Detener el servidor MySQL.
  6. Sobreescribir el directorio de la base de datos nuestro servidor MySQL con los archivos  de la base de datos  del viejo servidor.
  7. Arranca el servidor MySQL.
  8. Cruzar los dedos.
  9. Comprobar que la restauración ha sido correcta.
  10. Ejecutar el comando mysqlcheck y esperar que repare y optimice todo (manual mysqlcheck).

yo tuve suerte y recupere la base de datos.

Asi que larga vida al nuevo servidor

New Web serverPara los mismos amantes de la potencia es un Intel Atom D510 de doble núcleo con 4GB de RAM ejecutando Centos 5.5 X86_64 (no me da el money para una Red Hat Enterprise superserver chachi guai).

Espero que  aguante unos cuanto añitos 🙂

Ipad, un poco decepcionante

Sinceramente prefiero una tablet con Android que un Ipad

archos 7 android tabletLa Archos sera inferior pero tengo mas confianza en la plataforma Android que en la de Apple, de todas formas segun pase el tiempo el Ipad mantendra el precio mientras la competencia arañara en lo margenes

Configurar GPRS y MMS para Android en Yoigo

Pos eso como los señores de Google no me quieren vender una Nexus One (y de regalar no digamos) me compre una HTC Tatto con el unico problema de configurarle el GPRS. te vas a los APN y configuras esto

Conexión de internet
Nombre: Yoigo Datos (pero puede ser el que queráis)
APN: Internet
Proxy: 10.8.0.36
Puerto: 8080
MCC: 214 (es lo que me sale por defecto)
MNC: 04 (es lo que me sale por defecto)
Tipo de APN: default

Conexión de MMS
Nombre: Yoigo MMS (pero puede ser el que queráis)
APN: mms
Proxy: 193.209.134.141
Puerto: 80
MMSC: http://mmss
Proxy MMS: 193.209.134.141
Puerto de MMS: 80
MCC: 214 (es lo que me sale por defecto)
MNC: 04 (es lo que me sale por defecto)
Tipo de APN: mms

dejar marcado el de Yoigo internet y ya tenemos nuestra Tatto rulando

Robado de: http://www.htcspain.com/foro-f145/configuracion-mms-para-yoigo-t25715.html

Fonera preparada para exteriores en modo repetidor

Necesitamos:

  • Un pasacables o alguien con experiencia en electricidad
  • Una caja estanca
  • Una fonera
  • Un punto de acceso que soporte modo cliente o una fonera con dd-wrt
  • Tornillos
  • Fichas
  • Paciencia
fonera exteriores casera

y como una bombilla cerca de donde instales la fonera

fonera exteriores homebrew 2