Step 1: Enable epel
yum install http://dl.fedoraproject.org/pub/epel/7/x86_64/e/epel-release-7-5.noarch.rpm
Step 2: Install packages
yum install samba samba-client samba-common vim
Step 3: enable service and open firewalld ports
systemctl enable smb.service
systemctl enable nmb.service
systemctl start smb.service
systemctl start nmb.service
firewall-cmd –permanent –zone=public –add-service=samba
firewall-cmd –reload
Step 4: Configure samba
cp smb.conf smb.conf.orig
vim /etc/samba/smb.conf
[global]
workgroup = "Put here your workgroup name"
server string = Samba Server Version %v
netbios name = "Put here host name you desire"
log file = /var/log/samba/log.%m
max log size = 50
security = user
passdb backend = tdbsam
local master = yes
load printers = no
cups options = raw
map to guest = Bad User
restart samba services
systemctl restart smb.service
systemctl restart nmb.service
now a computer running windows 7 your server should be visible in network host list
 now we will add a shared folder where all users can write even guest.
Step 5: Add a global write shared folder:
create a directory in your linux system where is located your shared folder
mkdir -p /home/commonfolder
chmod -R 0755 /home/commonfolder/
setsebool -P samba_enable_home_dirs on
chown -R nobody:nobody /home/commonfolder/
chcon -t samba_share_t /home/commonfolder/
add shared folder in smb.conf file
vim /etc/samba/smb.conf
it should look similar this example
[global]
workgroup = "Put here your workgroup name"
server string = Samba Server Version %v
netbios name = "Put here host name you desire"
log file = /var/log/samba/log.%m
max log size = 50
security = user
passdb backend = tdbsam
local master = yes
load printers = no
cups options = raw
map to guest = Bad User

[commonfolder]
path = /home/commonfolder
read only = No
guest ok = Yes
verify your config file
testparm
reload your samba configuratión
systemctl restart smb.service
systemctl restart nmb.service
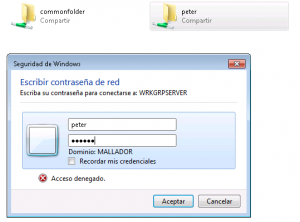
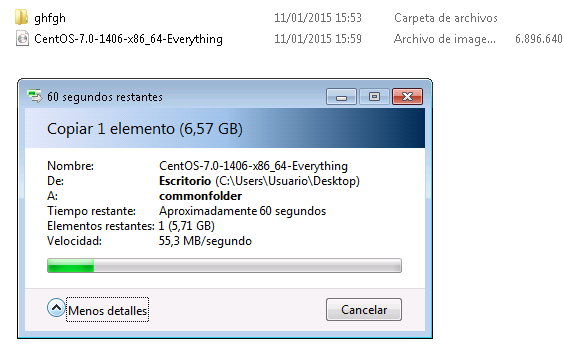
In your windows client machine click your samba server and verify that you can read and write in your shared folder
Step 6: Add a secured shared folder
Now we will create a shared folder for our user peter, first we will create a system user
useradd -s /sbin/nologin peter
groupadd smbgroup
usermod -a -G smbgroup peter
set samba password for peter user
smbpasswd -a peter
mkdir -p /samba/peter_share
chmod -R 0775 /samba/peter_share/
chown -R peter:smbgroup /samba/peter_share
chcon -t samba_share_t /samba/peter_share/
add Peter share in smb config file
vim /etc/samba/smb.conf
it should be like these
[global]
    workgroup = "Put here your workgroup name"
    server string = Samba Server Version %v
    netbios name = "Put here host name you desire"
    log file = /var/log/samba/log.%m
    max log size = 50
    security = user
    passdb backend = tdbsam
    local master = yes
    load printers = no
    cups options = raw

[commonfolder]
    path = /home/commonfolder
    read only = No
    guest ok = Yes

[peter]
        path= /samba/peter_share
        writable = yes
        browsable = yes
        guest ok = no
        valid users = peter
After this restar your samba services
systemctl restart smb.service
systemctl restart nmb.service
now you can access to your shared folder
 Solving problems with user permissions in guest share
If user Peter try to modify data from commonfolder all data will be mapped agains user peter and can have problems to solve this add the option guest only = yes in commonfolder share options
[commonfolder]
path = /home/commonfolder
browsable =yes
writable = yes
guest ok = yes
read only = no
guest only = yes
References:
https://www.howtoforge.com/samba-server-installation-and-configuration-on-centos-7
http://www.unixmen.com/install-configure-samba-server-centos-7/

